Road Crossings for Recessed Culverts and Canals
We can also make crossings for recessed streams, culverts and canals.
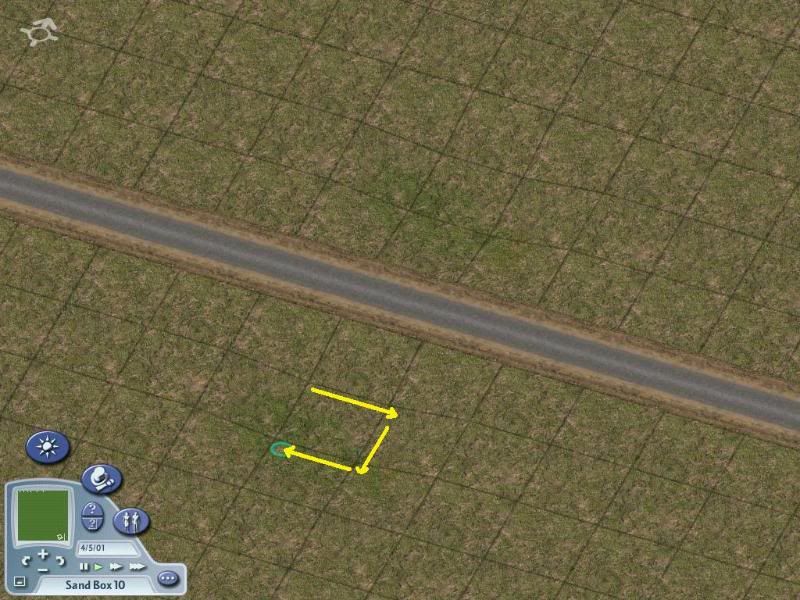
This time we will need the lower terrain or valley MM tool.
Again, make the tool the smallest, by pressing Shift + 1.
Lower the terrain a little either side of the road, to make a recessed area to place the canal pieces.
One click only please…
Remember to place the terrain tool in the northwest corner of the grid square. Use the compass in the top left of the screen.
Use single unconnected road tiles to continue the bed of the canal in whatever direction it needs to go.
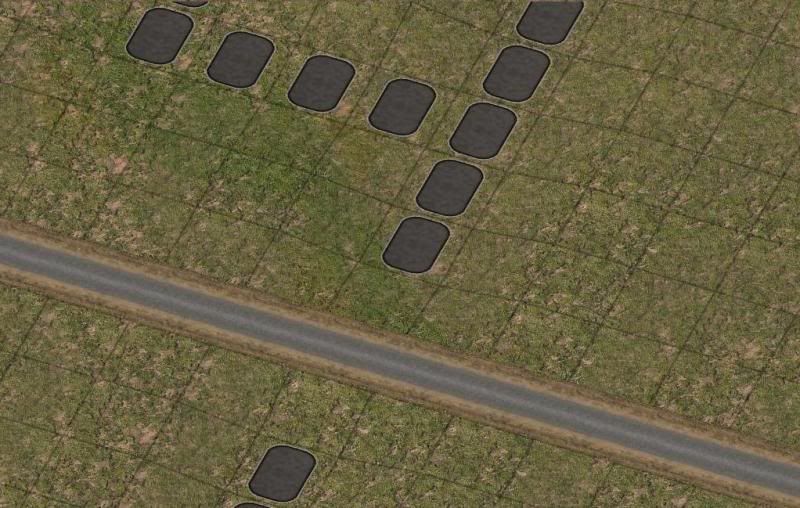
Bulldoze the road tiles. Blammo!

Now we have a level base for the canal, place the pieces.
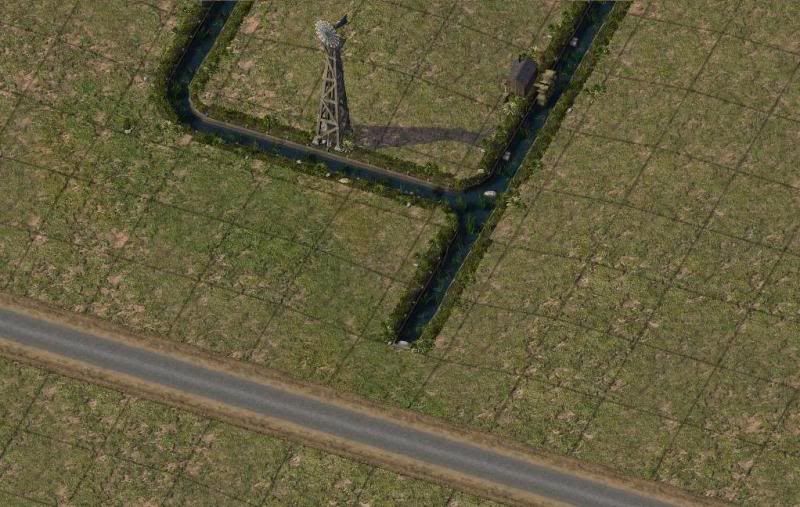
Want to take the canal back up to the higher level of the main terrain? No problem…
For the irrigation canal, use the canal water fall… this will ‘stretch’ to a maximum of 12 meters. For a stream just use a regular PPond waterfall, or for a canal a lock.

So even though the canal pieces are ‘best placed on level ground’ we can raise or lower the canal in elevation across an area of our tile.
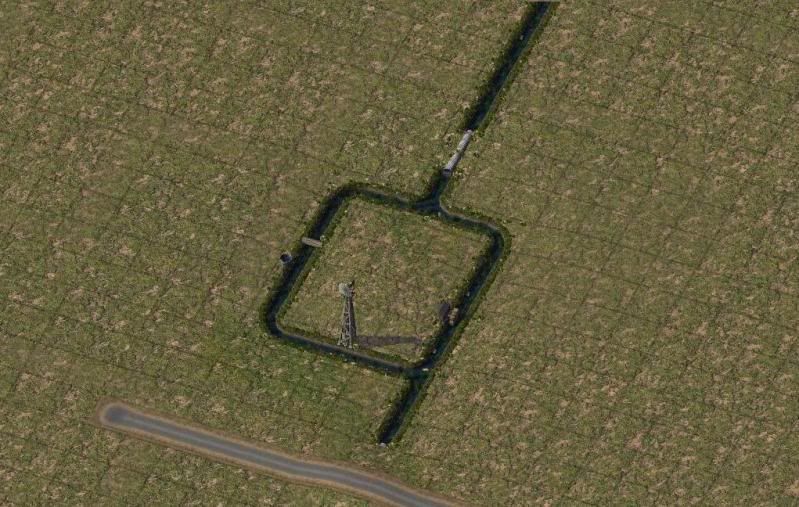
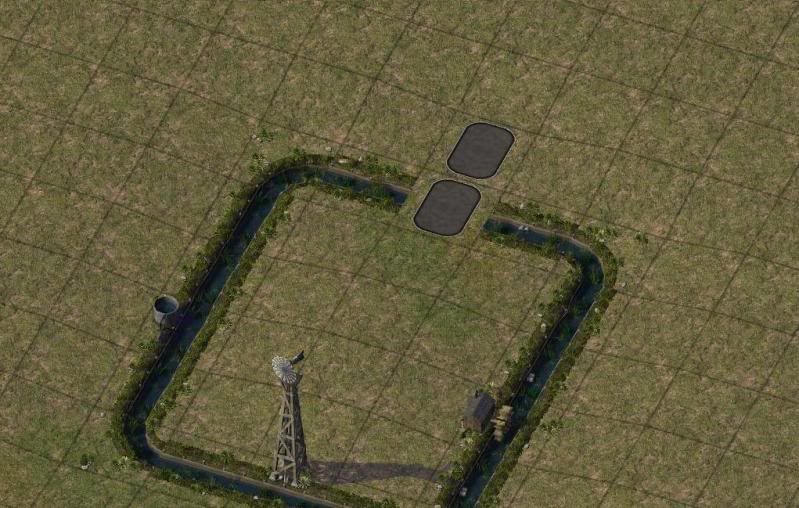
Now if we put it all together, the finished area might look a little like this…
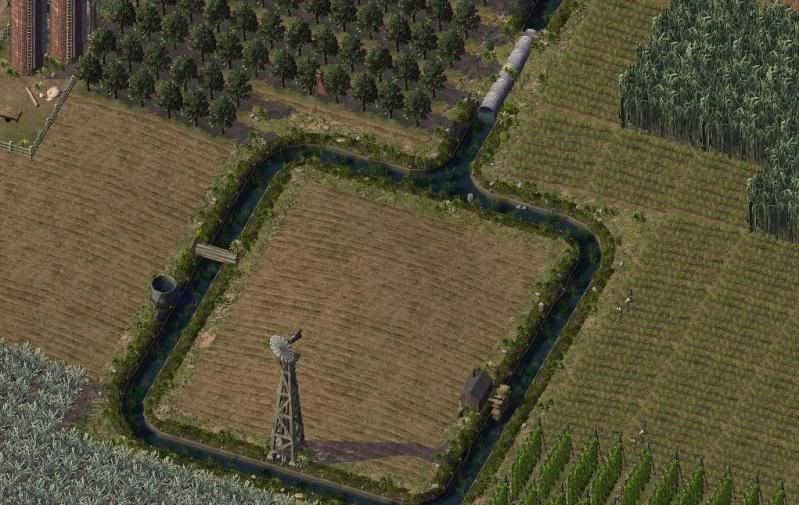
This scene uses a recessed canal and a raised road.
Oh BTW… I know that in this tutorial I was using Mayor Mode tools… but my screenies show the God Mode Tools Menu as well…

That super-uber useful God terraforming in mayor mode mod is Warrior’s, and it is available on the STEX.
The SPAM-IC (Spam Irrigation Canals) can be found here.
